By Helen Griffin
This method is for sanded grout only. The consistency of unsanded does not work.

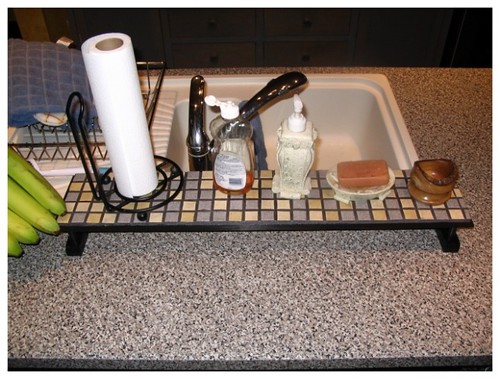
This is a simple wooden over-the-sink shelf that I've mosaiced with tiles. The adhesive used here is plain tile mastic.

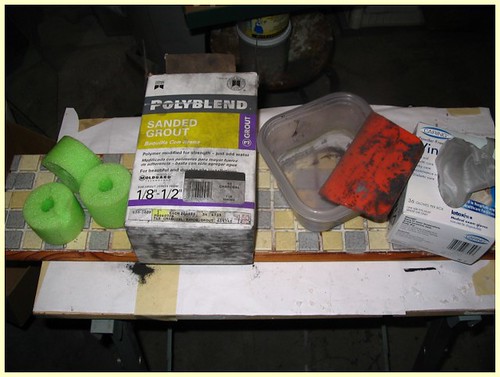
Here are all the supplies you will need from left to right: pool noodle broken into chunks, sanded grout, container for mixing grout, spatula for spreading grout, rubber gloves.
Mix your grout to the consistency of peanut butter, and place on your mosaic. Spread with a spatula, hand, or plastic knife to get even coverage on your tiles/tesserae. Working in circles is a good way to get coverage, first clockwise, then counter-clockwise.

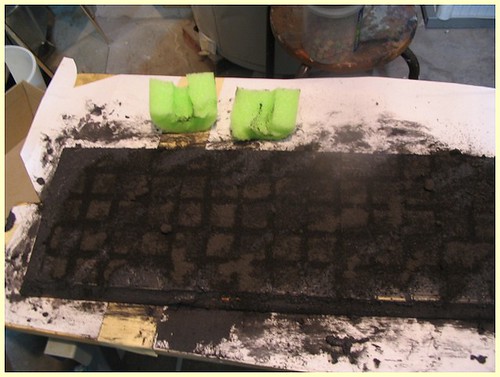
Once your mosaic is covered well with no empty spots or air holes, sprinkle some loose dry grout on top of the wet grout. It does not need to be an excessive amount. Use image for ratio reference. The dry grout levels out the grout. It helps fill holes and make the surface area uniformed. It also helps with the drying process of the grout itself. It makes the grout dry all at the same level of consistency: nothing too wet, nothing too dry. And yes, it does aide in the cleaning. It does not eliminate the need for the final clean.

Using a broken piece of pool noodle, start to work in circles; again clockwise, then counter-clockwise motions. I get the noodles from the dollar store, and I use them because:
• They don't absorb water, therefore they do not add or take moisture from the grout.
• They can be broken into shapes and sizes to suit the piece.
• They are cheap.
• They are disposable.
• They conform to the various heights in my tesserae just like a rag or sponge.
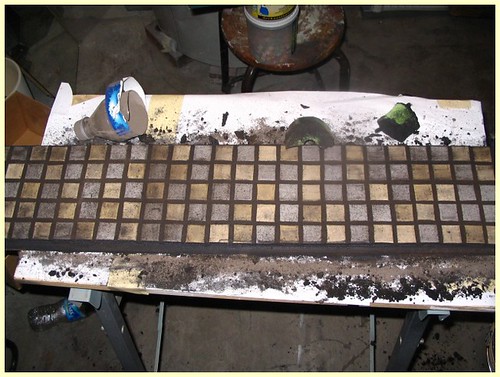
All this will take you to your first haze stage. The best thing I like about this method is there is no water to dispose of, and little to no mess. All I do is sweep up what missed the newspaper and I'm done. Easy—and I'm all about easy. This will give your mosaic an even coat of grout. It will eliminate any missed pockets around your tesserae, and it will help clean.

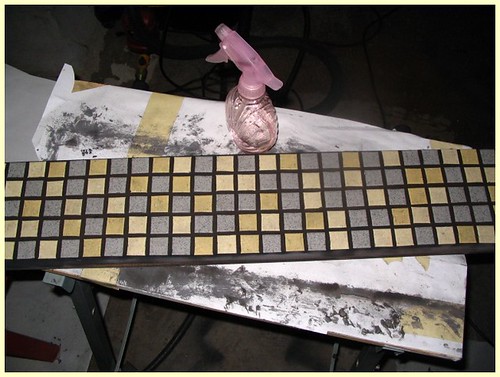
This is the whole piece once dry grouting has been completed overall.

Let the mosaic sit to dry overnight, then with a damp sponge or rag clean the residue off your tesserae. Let dry completely (about 24 hours).

I like to have my pieces finished, so I've painted the edge of the shelf black to match my kitchen more. Then I complete the look and protect it by putting on two coats of Polycrylic in a matte finish.
I painted the legs and shortened them to suit my sink location. Here is the mosaic shelf complete, and in place.
Note: If you're using tesserae with a finish that is delicate, I do not recommend using this method, unless you seal the tesserae first. Otherwise the abrasiveness of the grout will surely remove the delicate finish. This has happened to me, and that is what taught me to seal first, then grout (which fixed the issue).
About the ArtistIn 1999 my Dad was diagnosed with Parkinson's Disease (PD). Knowing that sooner or later the need would arise, my husband and I sold our home. We added on to his home and moved in together. My family is Orthodox Jewish, and we live a Shomer Shabbos life. My husband and I are baal teshuva, and it has been a wonderful journey getting here.
Mosaics were first introduced to me on the Internet when I was searching for some crafting/art inspiration. The mosaic I came across was incredible looking and had such symmetry. Being the anal perfectionist that I am, it appealed to me right away. And no, I do not recall the mosaic. Figures, huh?
Now some two years later this month I still love seeing, and playing with, pieces of pottery, china, glass, and other bits. It is like doing a jigsaw puzzle, but there is no box-top picture to refer to for answers.
 I was working on the preparation of the window, staining, varnishing - I started nipping the leaves so the trees was where I started on this project. I made strips of the green glass & then used wheeled nippers to trim up the leaves. A little bit of grinding to smooth out the shapes.
  I then started on the barn itself. This was the easiest to make. I used my Beetle Bits System to make the strips & then my wheeled nippers to trim all the barn boards.
  Then it was basically filling in the background. I sandwiched a pic of a border collie & placed in the road. My inlaws have a border collie named Shelby.
  The sky was the last part to be finished.
  This is the finished piece grouted. I did a color wash for the sky of a silvery blue & the roof of the barn a copper wash to depict rust.
  Here is the finished piece with the light shining through. The Yough glass just sings.
 Here is a pic of the original pattern. I originally wanted fall colors in the trees but I wanted to include cone flowers in the window (mother-in-laws favorite flower) so I had to use green leaves.





 Posts
Posts


